Creating something from nothing is a talent, but so is working with what’s already there—quirks and flaws and all—and adapting it to suit your needs. Case in point: When professional organizer Samantha Pregenzer of the Simply Organized blog (follow her on Instagram here) decided it would be years before she’d be able to execute her vision for a stately mudroom area in the attached garage of her Northern California home, she simply did the next best thing: She found a temporary solution that works so well that she won’t mind waiting for her forever garage.
The trick to keeping costs (and labor) at a minimum: Elfa shelving from the Container Store. Here’s how the transformation happened.
Photography courtesy of Simply Organized.
Before
Before the makeover, Samantha used freestanding industrial wire shelves to store her family of four’s shoes, but, she writes, “this wall could be working harder.” Her goal: Add wall-mounted shelving to utilize every inch of storage space on this wall, which is adjacent to the door that leads into her home.

The DIY Project
The entire project cost just a few hundred dollars, a fraction of what her dream mudroom would cost. Even though it’s a temporary solution, she reasons that the Elfa shelving can always be taken down and reused elsewhere when she’s ready to commit to a custom build. Here’s how she did it.
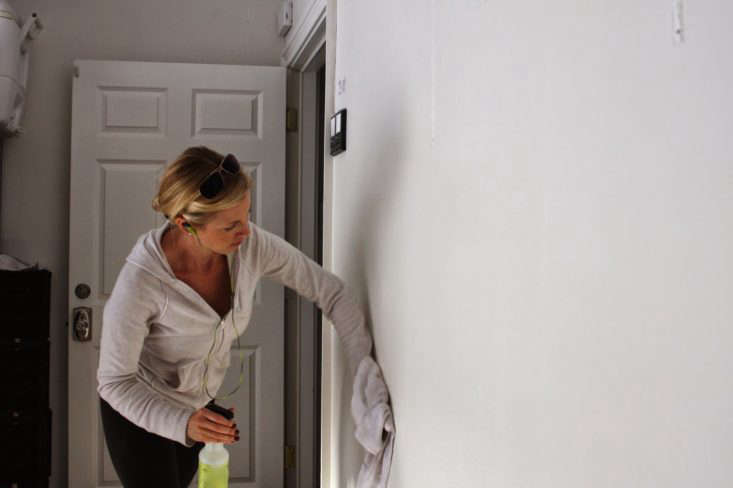
1. Clean and paint. After taking off the one wall-mounted shelf that the previous owners had installed and moving the two stand-alone shelves, Samantha got to work cleaning the wall, patching it where necessary, and painting it for a clean slate.

2. Install the top rail. The beauty of Elfa shelving is in its Top Track design; the only piece in the system that needs to be mounted to the wall is the horizontal rail at the top, from which everything else hangs. Drywall anchors, sold separately, ensure that the Top Track is safely and sturdily in place.


3. Insert brackets and shelves. Once the Top Track was in place, the rest of the project was tool-free. Samantha hung four vertical tracks from the Top Track and got to work figuring out where to place the shelves. Her tip: “It’s a good idea to begin by adding all of the brackets alone. This way you can step back and decide if some shelves need to be closer together or not.”


After
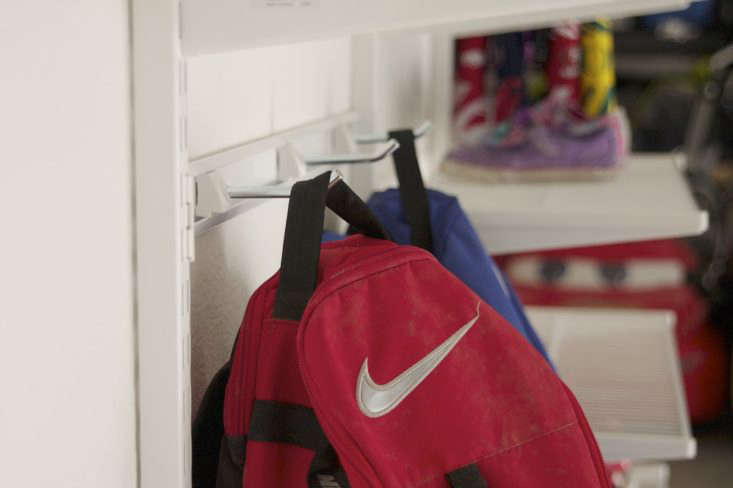
After putting together a bench so that there’s a place to sit when removing and putting on shoes, Samantha was done. She now had enough shelving for her family’s shoes, hanging storage for jackets and backpacks, a place to store seasonal outerwear, even a dedicated spot for her son’s saxophone. S hooks on the side of a shelf provide storage for umbrellas.

See Samantha’s post on her DIY garage mudroom here.
For more mudroom/entryway inspiration, read:


Have a Question or Comment About This Post?