Everybody should know how to sweep a floor. I got into the habit in college when I lived with a half dozen other reprobates in a shambolic wood-frame home on the edge of campus on the low Iowa prairie. Our house was a typical undergraduate hovel, with yellowed linoleum tiles that curled up at the seams and a Sears stove that hadn’t been cleaned since the 1950s. Some kind of rodent lived behind it.
One of my roommates, a real freethinker, was the first to take up sweeping. Gradually, it caught on with the rest of us and me in particular. Sweeping perceptibly improved the home in almost imperceptible ways. Though our rooms were still cluttered with books and bongs and beer bottles, and no one could be bothered to take the full garbage bags out to the curb (we stacked them in the kitchen), the floors definitely felt cleaner. The linoleum was still filthy, but there was no grit between the cracks. One could wander around barefoot, without worrying about beer-bottle caps sticking to one’s feet.
In time, I came to understand how the faintly rigorous act of sweeping is itself as rewarding as the result of having swept. Sweeping, like washing the dishes by hand after a big dinner party, strikes a satisfying blow against entropy. It’s mechanical and meditative. One can easily get lost in it—if you do it right. Let’s get started.
1. Arm yourself.
Above: A pair of 54-inch brooms from Haydenville Broomworks; according to the makers, “Using the design pioneered by the Shakers, the broom heads are stitched flat to provide a wider sweep and the broomcorn is secured to the handle using wire.” I have the Traditional Broom (shown above L) with a long Sassafras handle that’s smooth to the touch; $65. The no-frills Shaker Broom (shown above R) has a flat head and a sanded pine handle; $40 from Haydenville Broomworks.
You will need a decent broom, a dustpan, and a hand broom. By “decent,” I mean a Shaker broom, invented by the same people who championed a sternly sexless lifestyle and uncomfortable ladder back chairs. In the late 18th century, the Shakers also invented the “broom vice,” to make it possible to manufacture brooms with stitched, flat heads. (Previously brooms had “round” heads bound in a sort of cylinder. Think of the broom a witch rides.) A round broom is an OK shape for sweeping out narrow spaces, such as fireplaces and the spot behind the oven where the rodent lived, but it’s inefficient for sweeping a wide, indoor floor.
My Shaker broom, with a pleasing-to-touch, crooked sassafras handle and natural bristles, came from Haydenville Broomworks and set me back $65. I consider it an investment. Or you can go to a hardware store and get a cheap, $10 broom that will start to shed its bristles next week, which I wouldn’t recommend unless you want to spend the rest of your life hating your broom.
Get yourself a hand broom to sweep your debris pile into your dustbin. Again, I went with Haydenville (they call them “whisks”), but frankly, a whisk is a whisk is a whisk.
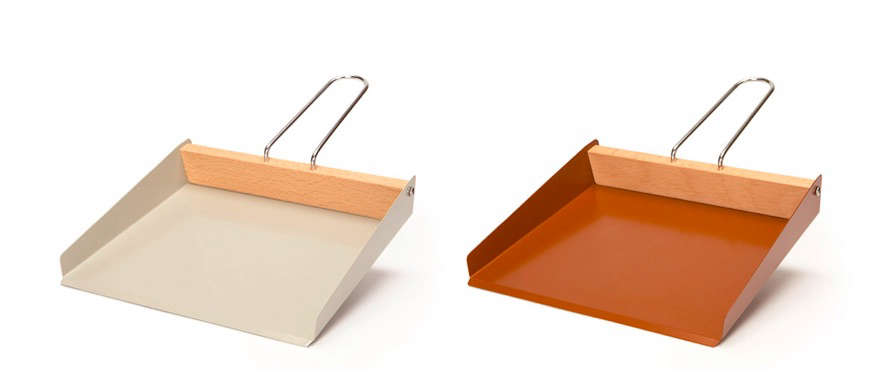
The dustpan however is another, far darker story. Ninety-nine out of 100 are poorly designed: the single feature a dustpan truly needs is a razor-thin lip. With a thicker lip, you are going to be left with a thin, accusatory stripe of dirt on the floor. I don’t care if you buy a dustpan that’s made of metal, beech, or plastic; but do yourself a favor and make sure the lip is no more than an eighth of an inch thick. Otherwise you will need to learn the Drawbridging Technique to sweep up the last bit of dust. (We will deal with this in Step 8, below.)
Above: The Chiltern Dustpan from Turner & Harper is £35 ($42 USD). For more of our picks, go to 10 Easy Pieces: Design-Worthy Dustpans.
2. Pick a central dust-collection spot.
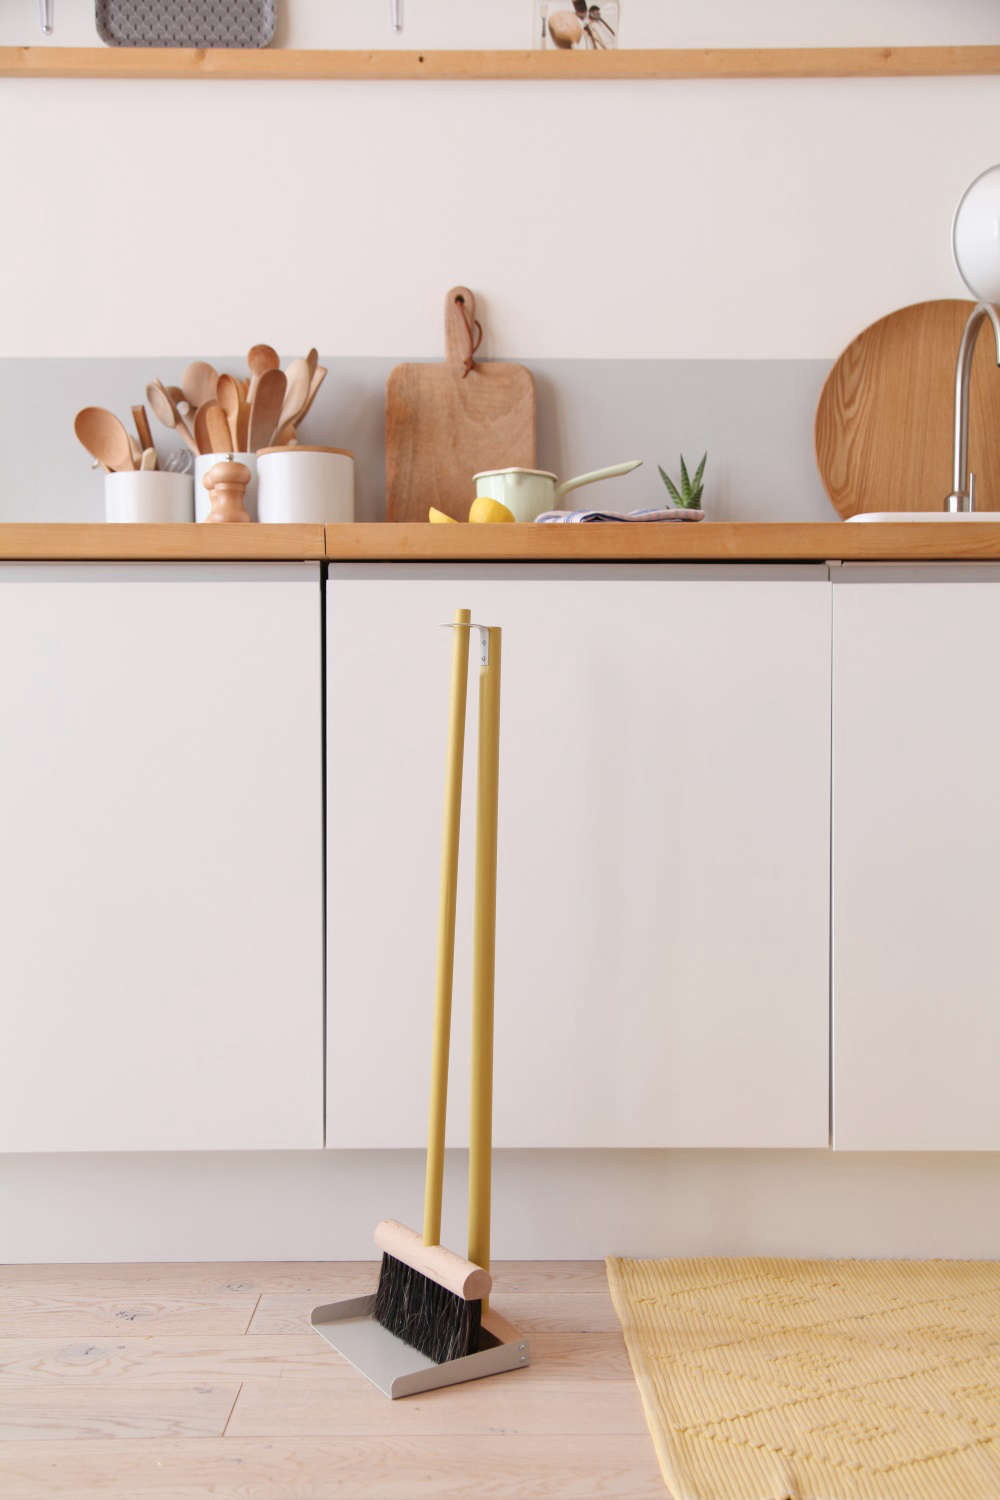
It ought to be in the doldrums of the house, at a low point (we sweep from high to low) and preferably in a corner—but absolutely protected from airflow. In our house, that happens to be near the utility closet where the broom and incorrectly designed dustpan are stored. The airflow thing is key: Without wind blowing in through doors, it’s easier to corral dust bunnies and lint and other lighter-than-air stuff that tends to take flight during sweepage.
Above: Photo of the Mr & Mrs Clynk Broom from Andrée Jardin.
3. Start in the furthest room.
Gently sweep toward your staging area. Sweep in short strokes, but with authority. Make sure you get under chairs, bar carts, tables, and sofas. Indeed, do not be afraid to move those out of the way. Then move them back.
Above: Photo from Inner Sanctum: Maximum Calm in a London Townhouse.
4. Periodically clean your broom.
I am sorry that your mother did not tell you this, but from time to time, you will need to turn your broom upside down and, with your hand, remove the lint, pet hair, and other woozies from the bristles. If you’re still far from the collection point, you might want to take that fistful of fuzzy and dump it directly in your garbage can.
Above: Hand brooms (the Epoussette Tradition and the Balayette Tradition) from Andrée Jardin.
5. Move with purpose.
Firmly move from room to room, furthest to closest, collecting your dust in your central spot. Depending on where your staging area is, you might zero in on it from one side of the house, then the other. This is ultimately of little consequence.
Above: Hallway in a Victorian house in Stoke Newington, London.
6. Admire the pile of debris you’re collecting.
You might find yourself wondering: How the hell is that even possible? It looks like a barbershop! Hard to believe you last swept five days ago.
Above: A handmade hand broom and dustpan from Hannah Beatrice Quinn , an SF-based artist and broom maker who sold her wares at our recent Remodelista Holiday Market at Heath Ceramics. Photo via Instagram.
7. Introduce the dustpan.
8. Learn the drawbridging technique.
Finally, we need to remove that tiny wall of filth that some nitwit with a degree in industrial design from a reputable university couldn’t be bothered to worry about. To properly execute the Drawbridging Technique, angle the dustpan at around 80 degrees to the floor (or 11 o’clock) and with a deft stroke, firmly and rapidly whisk the dust wall up and into the pan. As the dirt loads on, drop the angle of the pan (the drawbridge comes down).
It might take you a few tries to master the technique, but stick with it, for the only thing worse than a sloppily swept floor is one that is, sadly, unswept.
For more of Josh Quittner’s Domestic Science posts, go to:
Domestic Science: How to Load a Dishwasher
My Marijuana Plant: Best Apps and Growing Tips


Have a Question or Comment About This Post?